I could write quite a lengthy list of tips to make Christmas cooking stress free. But I decided to keep it short and to the point, giving you just my six very best tips that will make the biggest impact on easing your workload on the day-of. So without further ado, here they are!
1. Choosing a smart menu
I have always enjoyed the challenge of coming up with the “perfect” menu for gatherings. It all started as a poverty-stricken uni student who loved good food but couldn’t afford to eat at nice restaurants. Instead, I taught myself how to cook and hosted dinner parties. I secretly got such a thrill out of coming up with the “perfect” menu for gathering. And I still do.🤭 #NerdAlert! In my world, the Perfect Menu for special occasions means:
Impressive – delicious (of course) and interesting. I’m not going to sugar-coat it, ego has everything to do with this. Minimise time in the kitchen on the day-of Maximum prepare-ahead elements and/or make-ahead then reheats perfectly
And if right now, you’re thinking stop chattering, and just tell me your best make-ahead Christmas menu – I will! But not in this post. My next post (coming this weekend) is going to contain a list of reader favourites and MY favourite make-ahead Christmas recipes. From starters to mains sides to dessert! I think there will be some new discoveries on that list for you. 😊
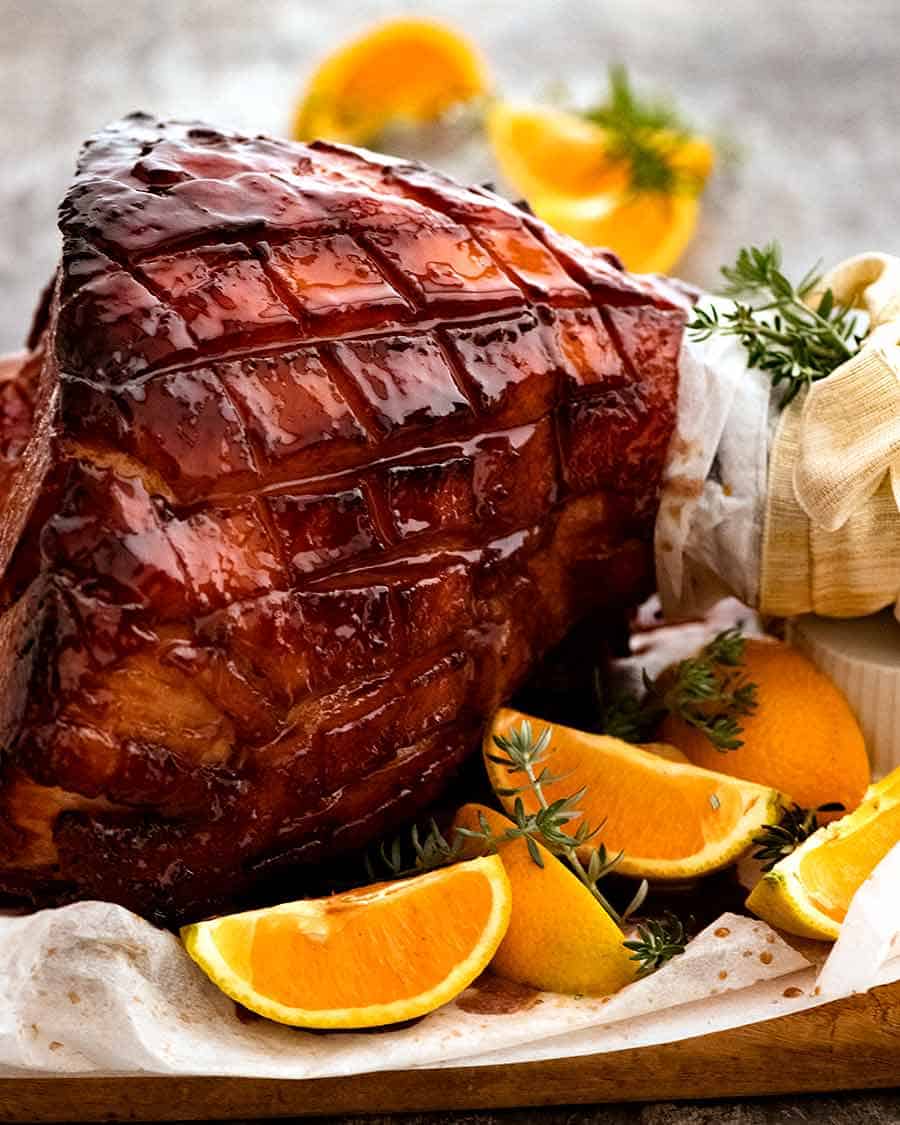
2. Make your glazed ham the day before
For years, I’ve been making my glazed ham the day before serving then just reheating it on the day of. It comes out 100% perfectly. The glaze is just as good as freshly made and the ham flesh doesn’t dry out at all, thanks to all that salt curing that locks in juices! Writing out the steps to share all my tips got a bit long to have in this post, so I created a separate post about how to make Glazed Ham the day before. In summary:
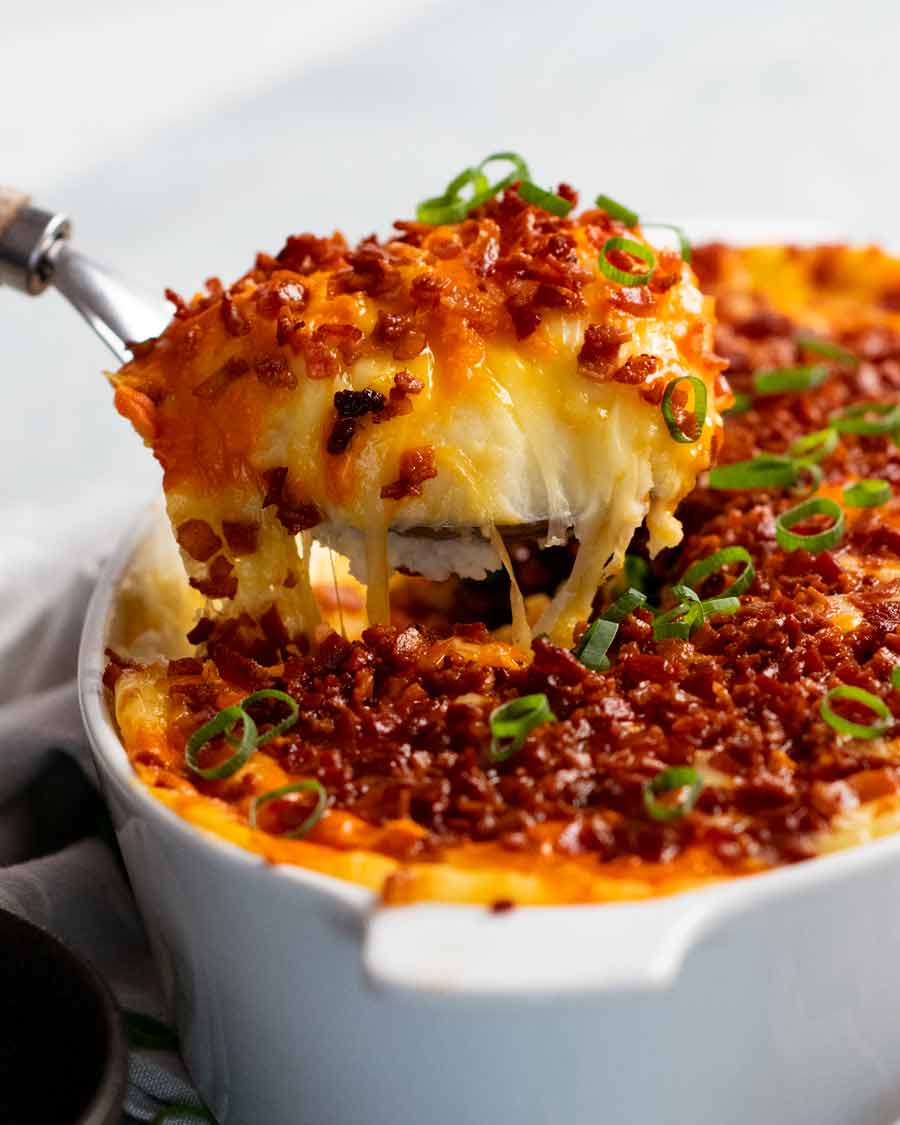
3. Make-ahead mashed potato casserole
Every menu needs a starch. The easy fall-back is a basket of store bought bread. But creamy hot mash is so nostalgic and ideal for holiday spreads! However, serving up a big bowl of creamy, piping hot mashed potato on demand is easier said than done. Can’t make it today and microwave it tomorrow. It turns horridly gluey! But who wants to make it fresh on the day, and handling enormous mounds of steaming hot potato when everybody else is sitting around sipping bubbly? NOBODY! The solution? Mashed Potato Casserole. Creamy mashed potato topped with cheese and bacon, this is a practical and highly delicious way to prepare mash the day before. Just assemble today and bake tomorrow! (Convenience aside, adding cheese and bacon to mash is a dream come true for cheese-loving-carb monsters like myself. 😂)
4. Day-before stabilised whipped cream
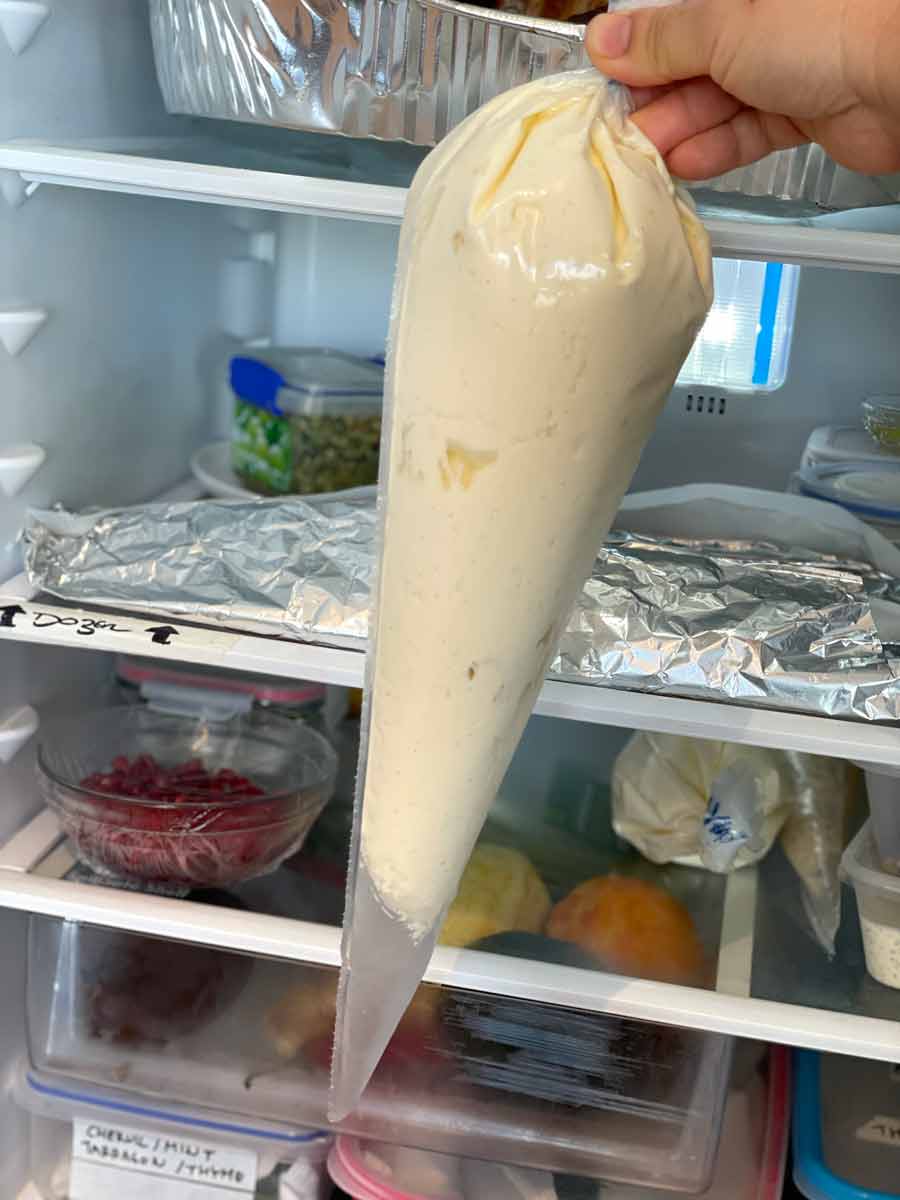
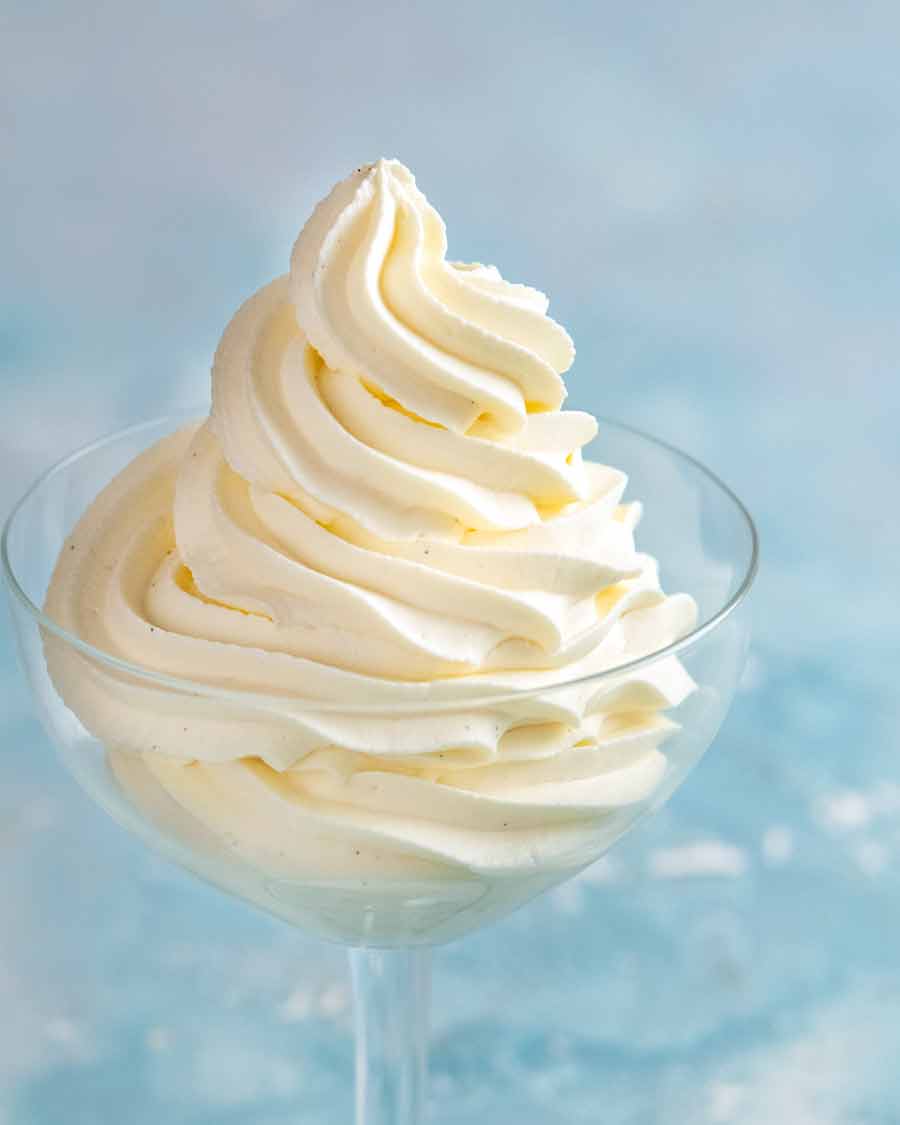
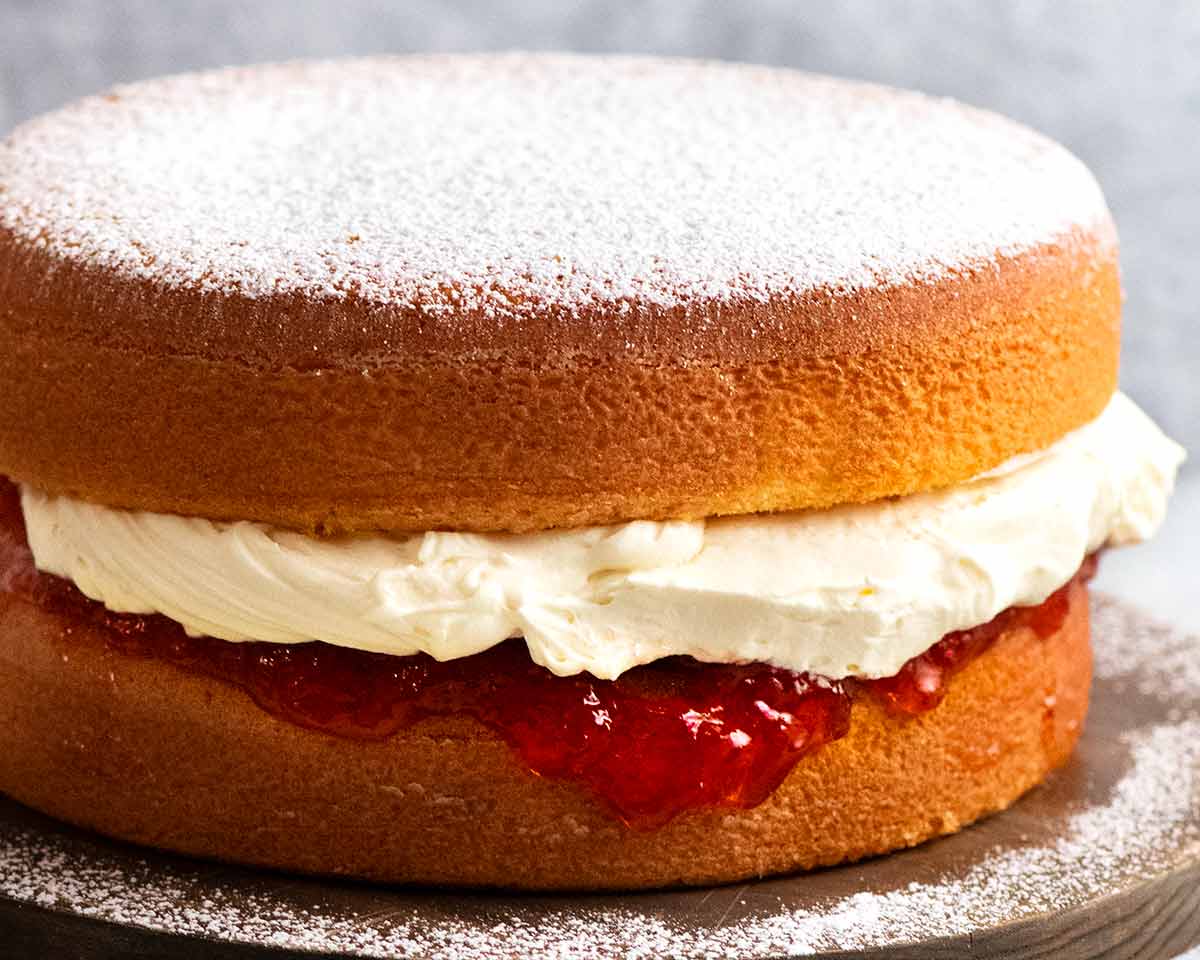
Imagine a world where you’re making a fresh cream-decorated dessert for 30 people and all you have to do is grab a piping bag filled with whipped cream that you prepared the day before? Dream no more. Welcome to the magical world of make-ahead whipped cream!
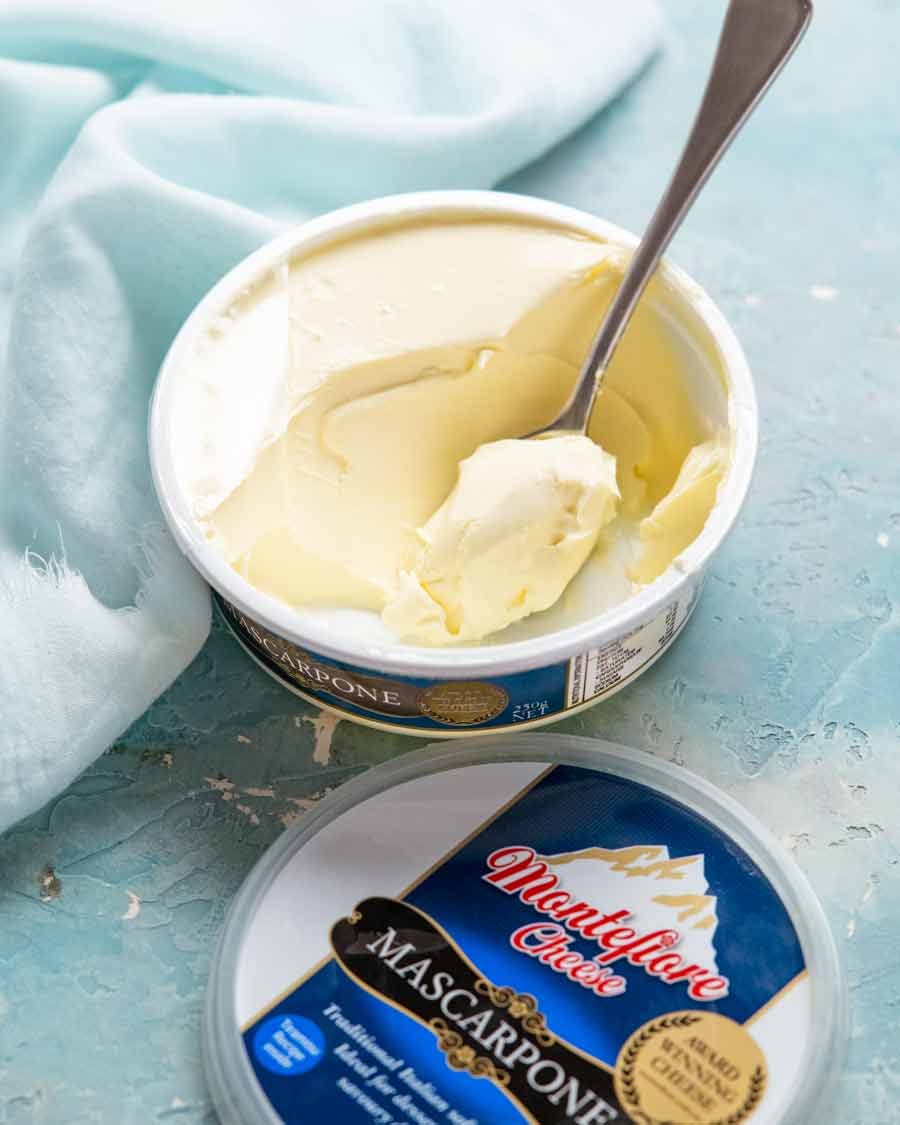
Mascarpone is the secret
Whipped cream that’s made so it won’t deflate or melt overnight is called stabilised whipped cream. There’s various ways to do it but I think the best, tastiest and easiest is using mascarpone. This is an Italian cream used in Tiramisu that fluffs up like whipping cream when you beat it but firms up like cream cheese in the fridge so it holds the whipped form. How to make it – Cream to mascarpone ratio of 3:1, just beat it with the cream, sugar, vanilla and whatever other flavourings your recipe calls for and you’ll end up with stabilised whipped cream. Full recipe directions are in my Whipped Cream recipe!
How to use stabilised cream
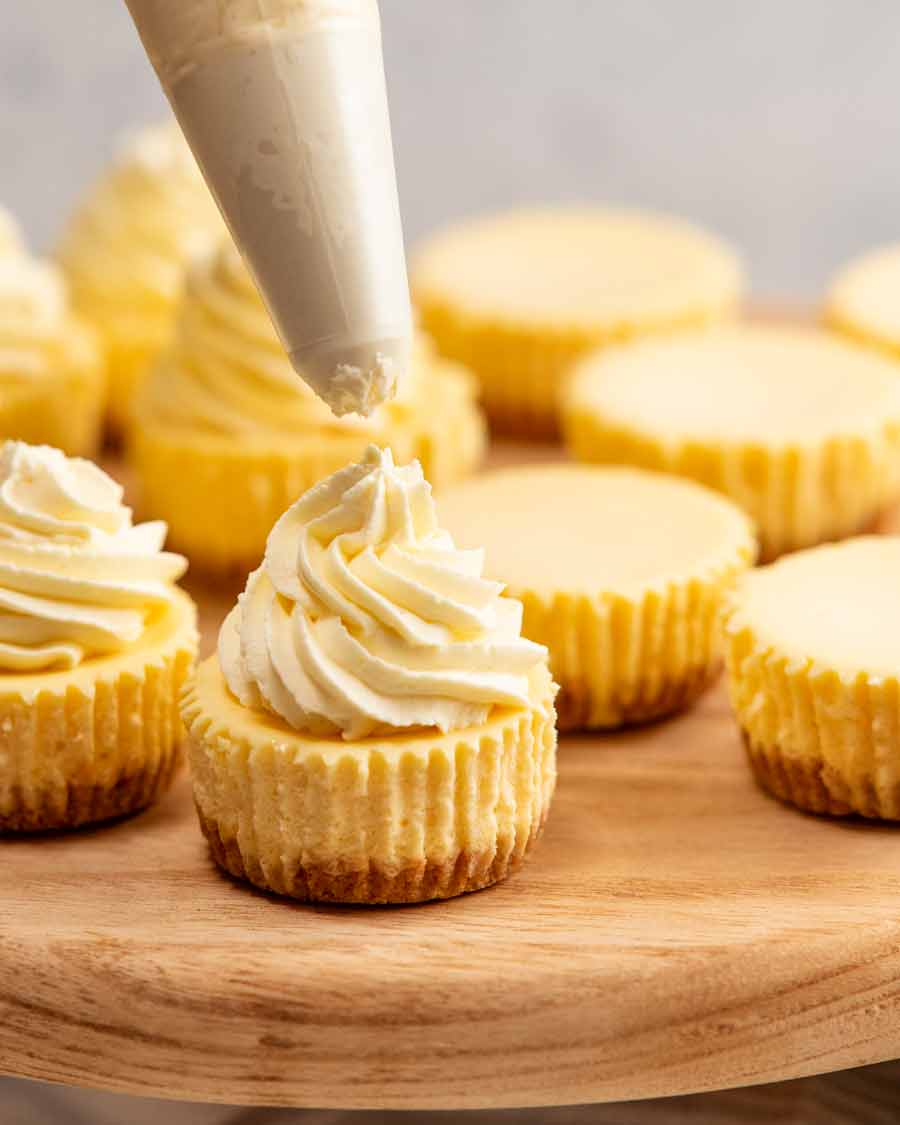
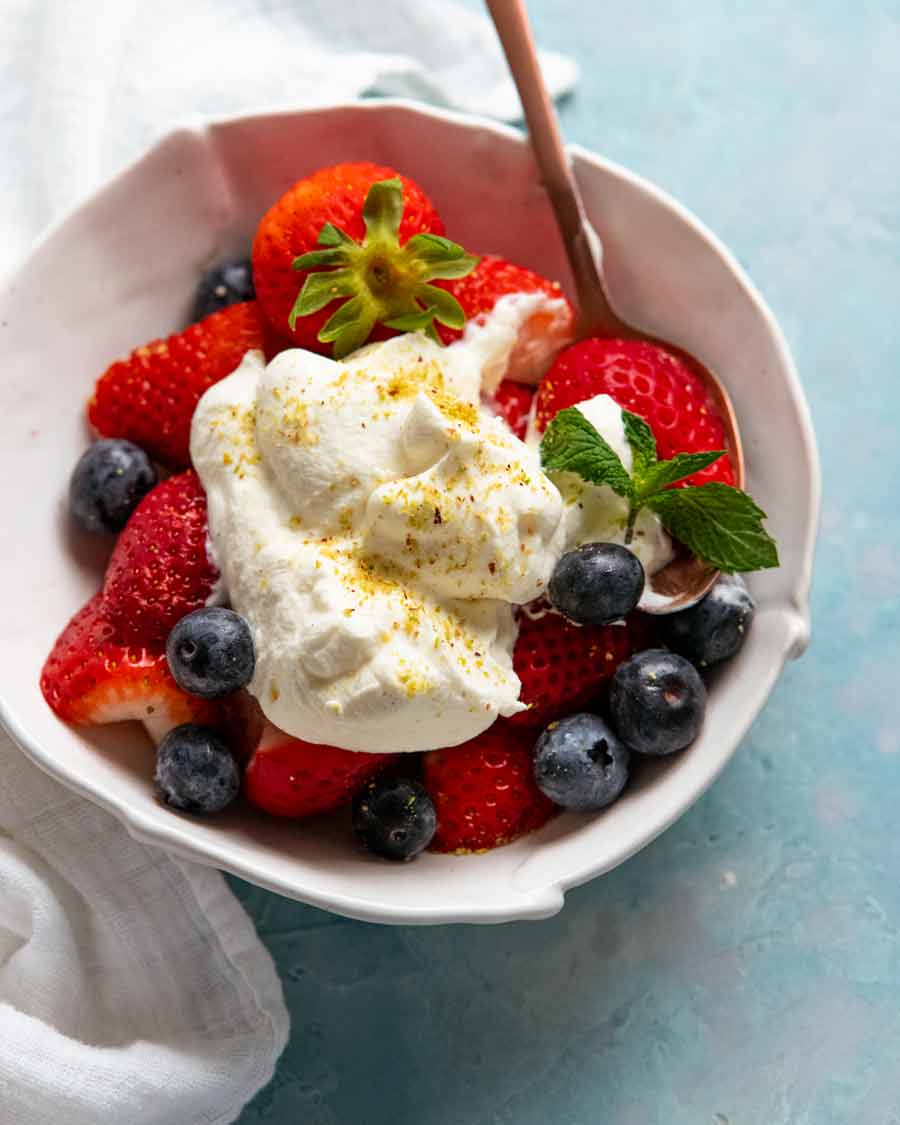
See my Whipped Cream recipe for full directions for how to store and use stabilised whipped cream It can be piped / spread onto cakes, cupcakes etc ahead of time and it will hold its whipped form. It can also be stored in whipped form ready to pipe, spread or dollop onto cakes on the day of.
PRO TIP: Whether piping into swirls using a piping tip, spreading or dolloping, I highly recommend using a piping bag. It’s just so much faster to disperse than using spoons!
5. Prepare ahead salad components
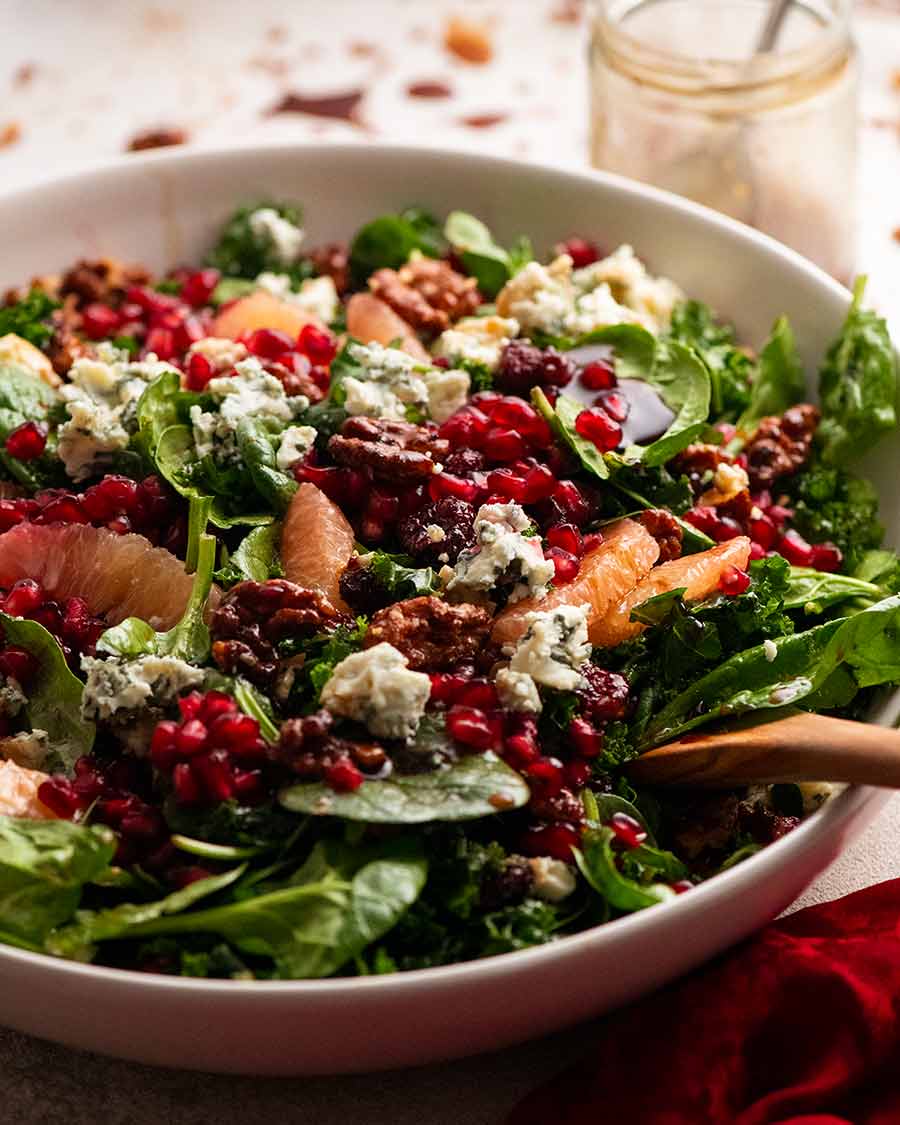
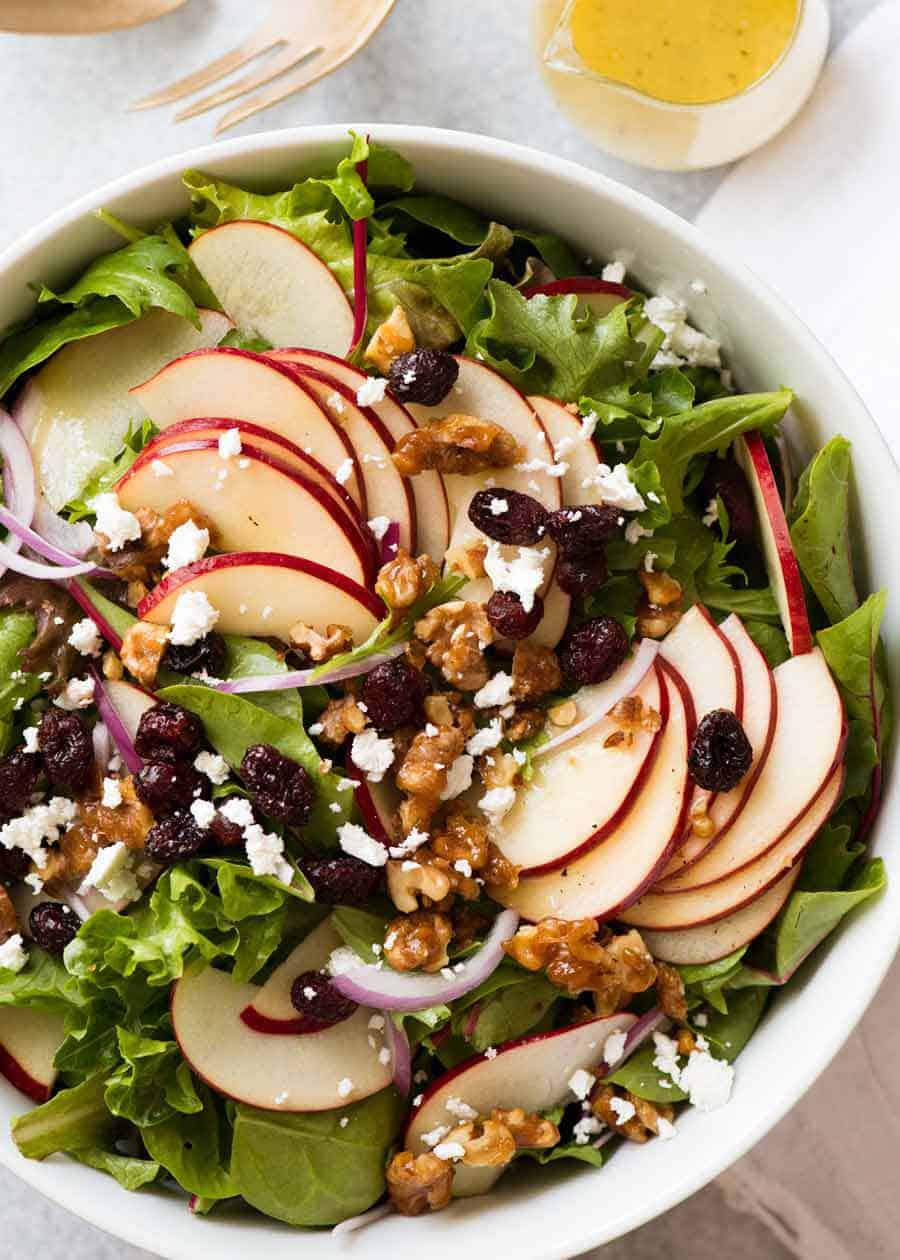
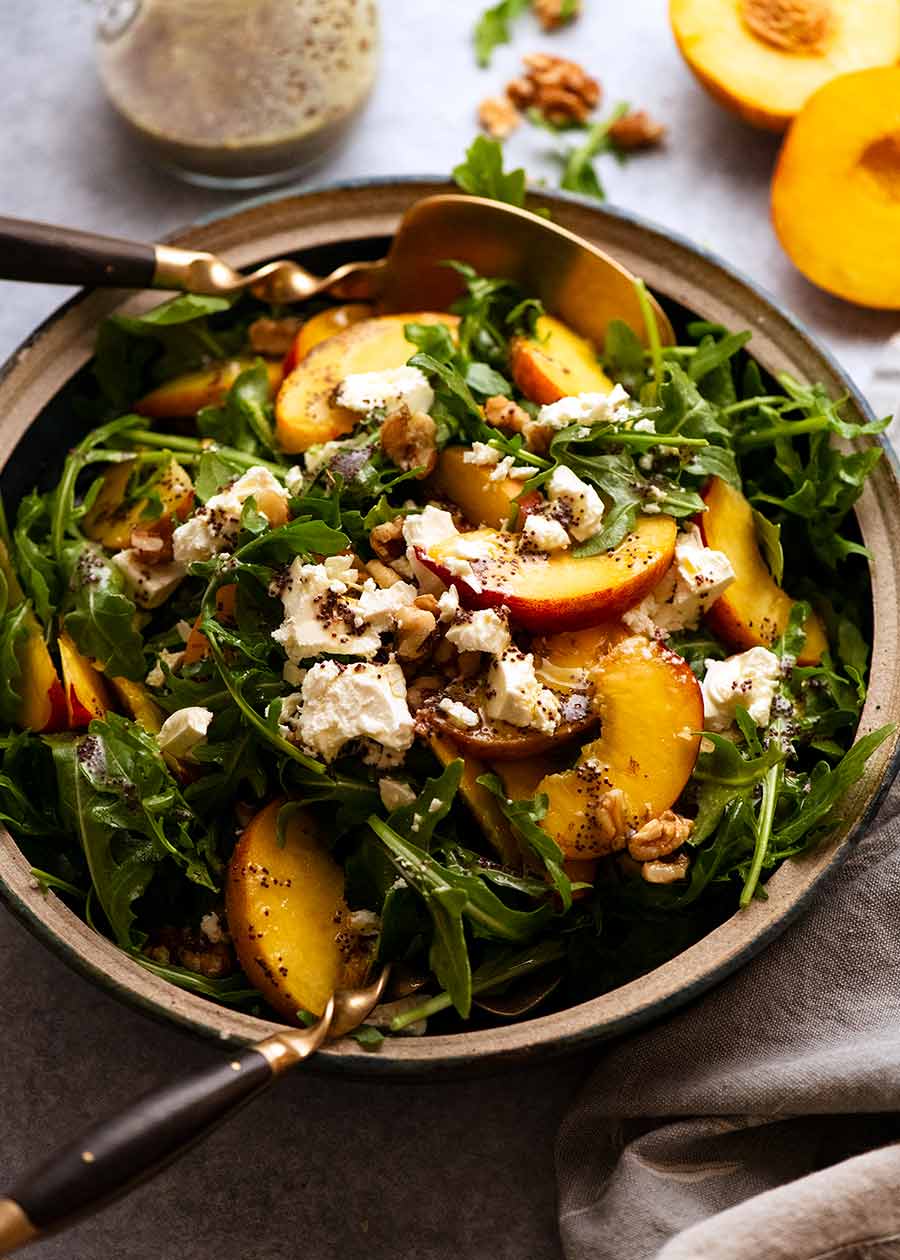
Get all the ingredients that can be done ahead cut, measured, grated, peeled, shaved and prepared then ready to toss together salads on demand! Preparing components of a salad ahead is a direction I suggest in all my “show-off” salads to make things easier on the day of serving. This practice actually has a proper name in the culinary world – mise en place. It’s a French phrase that translates to “put in place” and is a technique chefs use to assemble meals so quickly and effortlessly. I felt sooooo pro when Chef JB explained this to me. Who knew, all this time I’ve been practicing mise en place! Mind you, I still can’t pronounce it. But is seems I practice it! 😂
Things you can do ahead
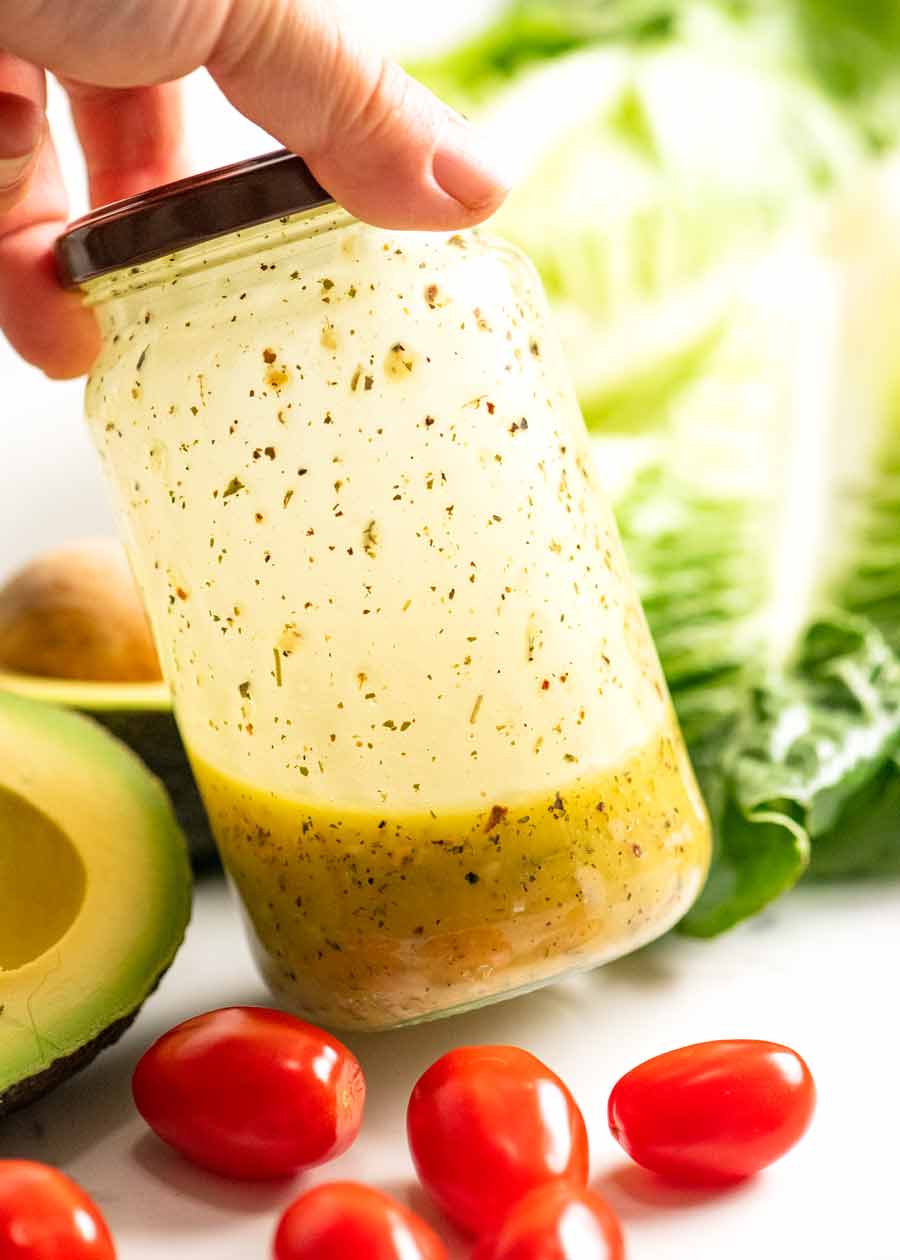
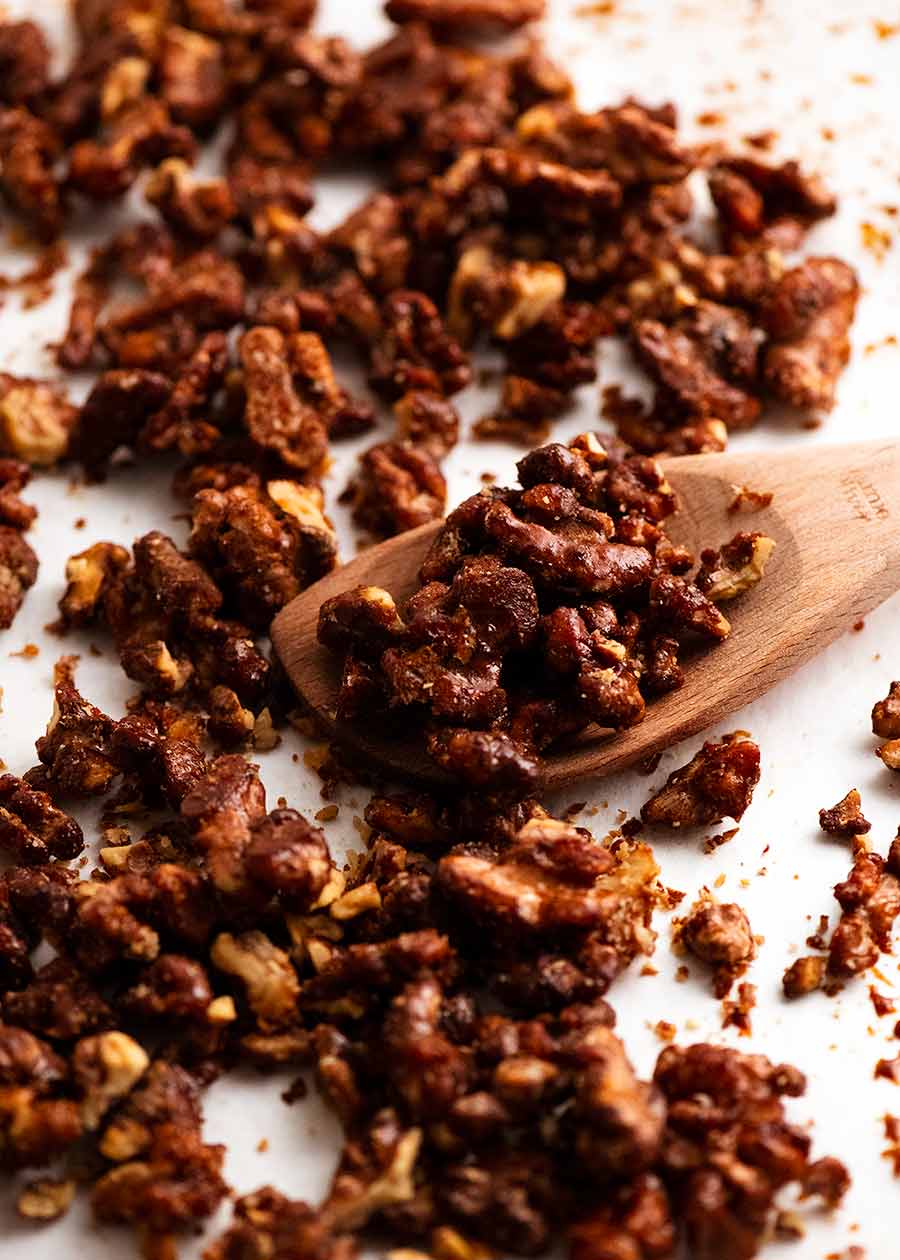
Shake dressing in a jar and keep in the fridge Measure, prepare and store in containers – salad toppings like grated parmesan, nuts (raw, roasted, candied), croutons, crushed wasabi peas (rainbow quinoa salad!), crispy fried shallots – to name a few of my favourite toppings! Pick herbs kept whole – like coriander/cilantro leaves, parsley, dill sprigs. Store in containers lined with paper towel in the fridge. (Chopped herbs are best day on the day – see next section.) Wash, dry and chop your leafy greens then store in freezer bags in the fridge. Fill the bags with air then tie up to keep them extra perky – it acts like a vegetable crisper! Pomegranate seeds – bash them out then store in a container. Crumble feta (regulars know I love my feta on salads!) – crumble ahead and store in a container. Make pickles like my favourite easy pickled red onion. Store in the vinegar – it will keep for weeks! Measure out and weigh vegetables and other ingredients that need to be cut fresh on the day-of. Store in containers in the fridge. Cook starches that will hold overnight, like quinoa, pearl couscous, rice, cauliflower rice, couscous. Do not dress as it will absorb the dressing and bloat.
Salad components I don’t do ahead
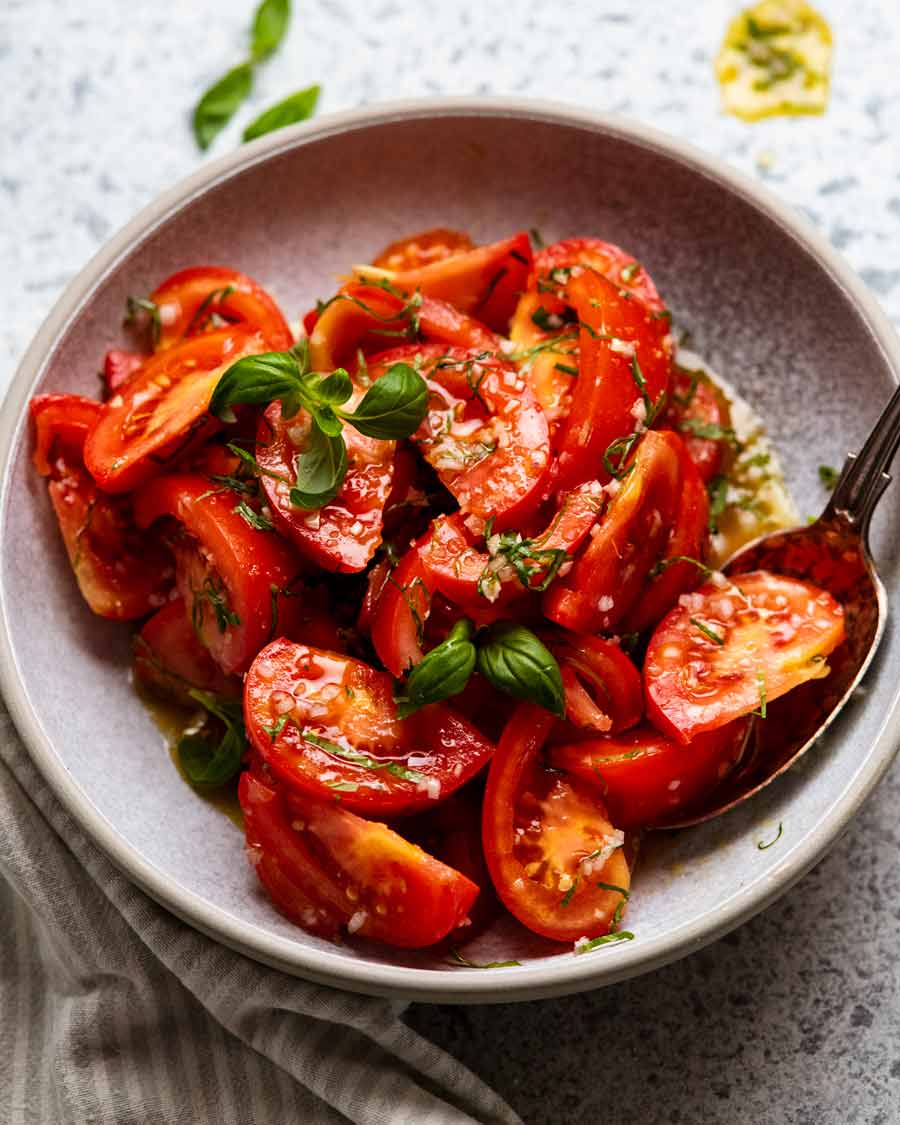
Any juicy vegetables that should be cut fresh, like tomatoes, cucumbers. Fresh mozzarella (which features in special salads like Prosciutto Peach Salad) Chopping herbs – for best fresh flavour. With the exception of parsley which I almost always do ahead! NEVER dress your salad until just before serving unless a recipe very specifically says to do so ahead – which is pretty much only Coleslaw and Potato Salad!
5. Freeze cheesecakes and cakes
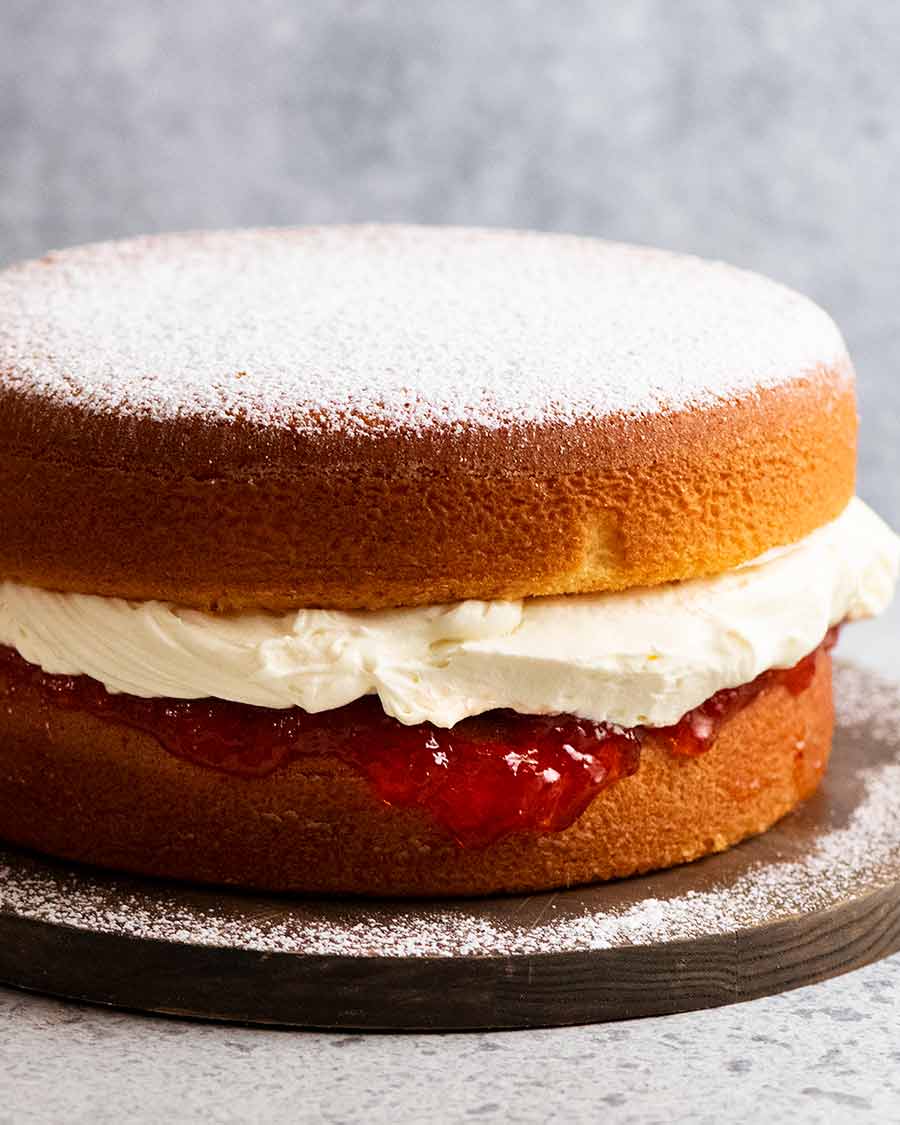
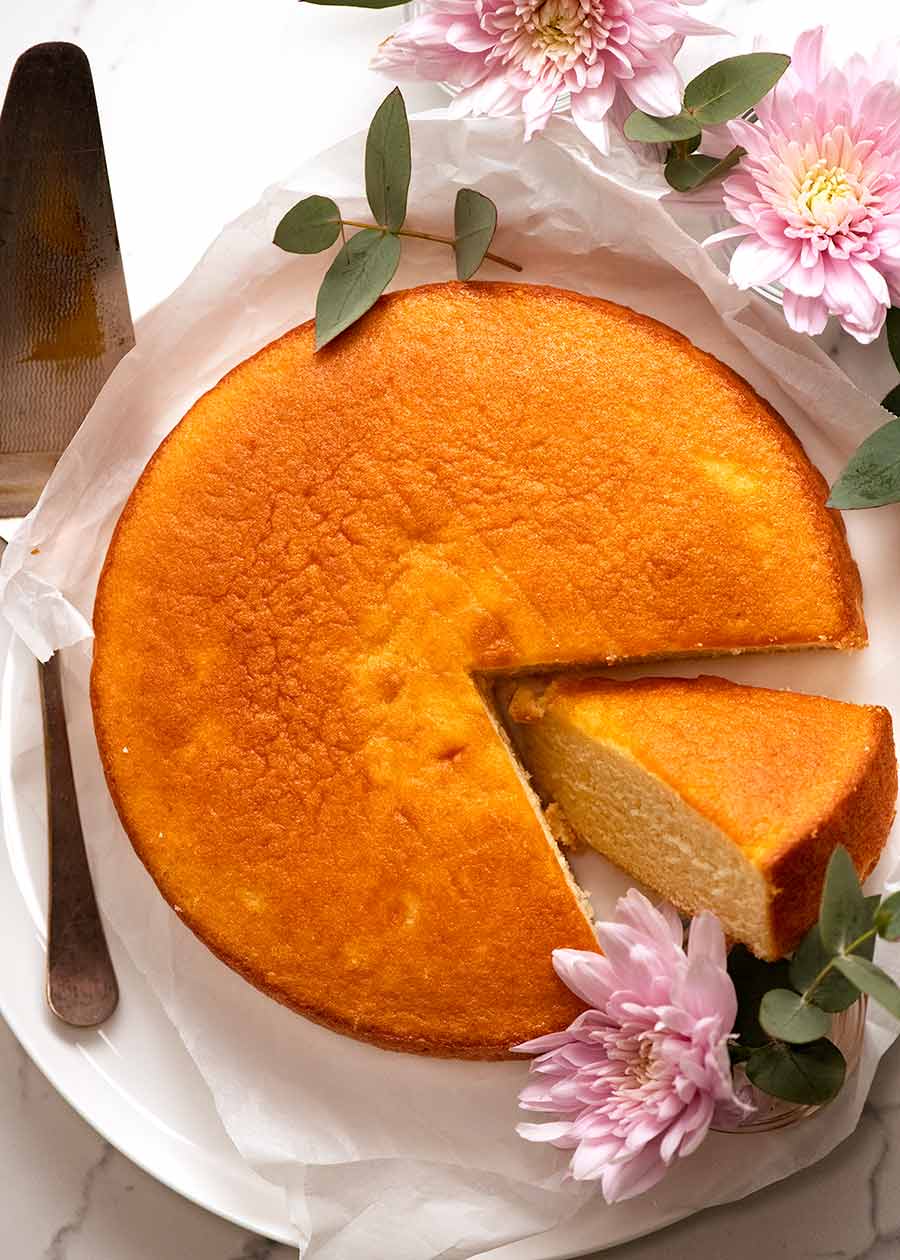
Undecorated plain sponge cakes freeze perfectly for up to 3 months, and cheesecakes too! Imagine being able to pull out a like-freshly-made cake and decorate on demand with whipped cream you made the night before – how easy it that??!!
Freezing cakes
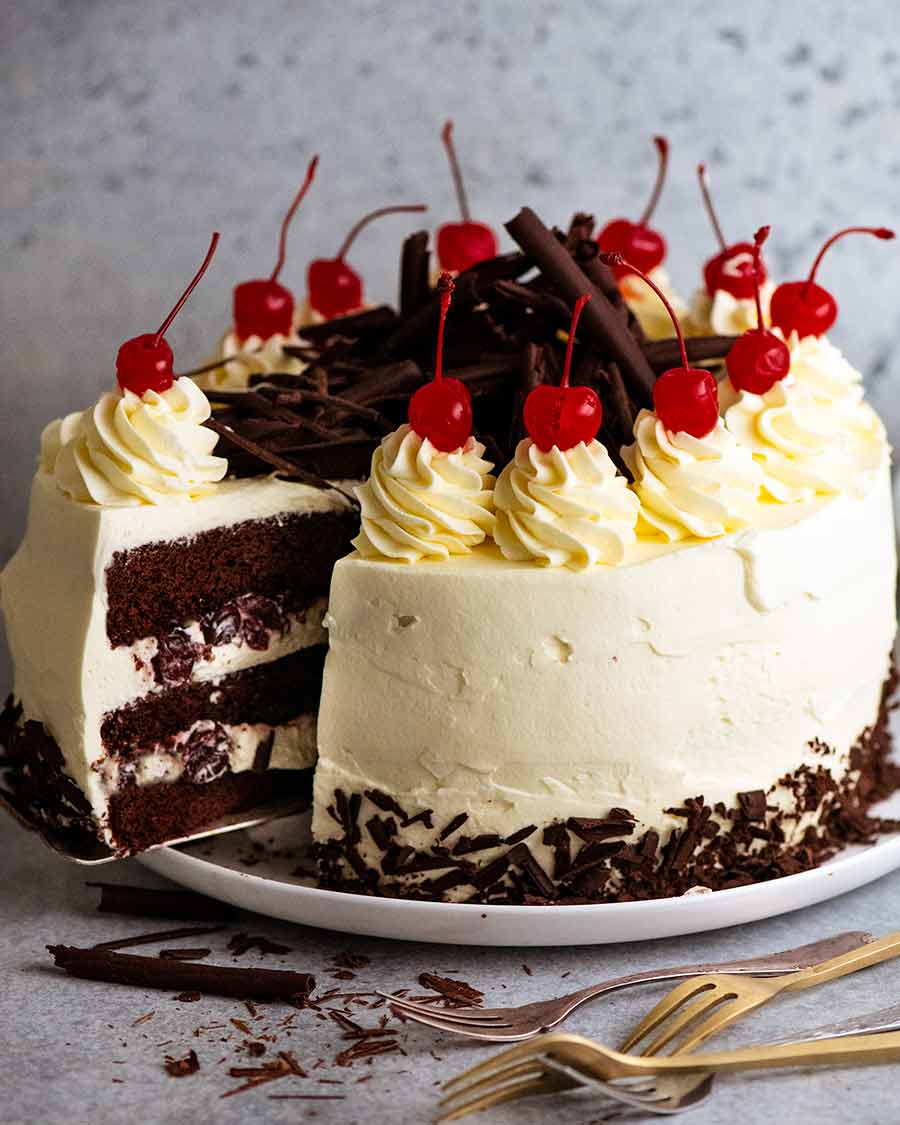
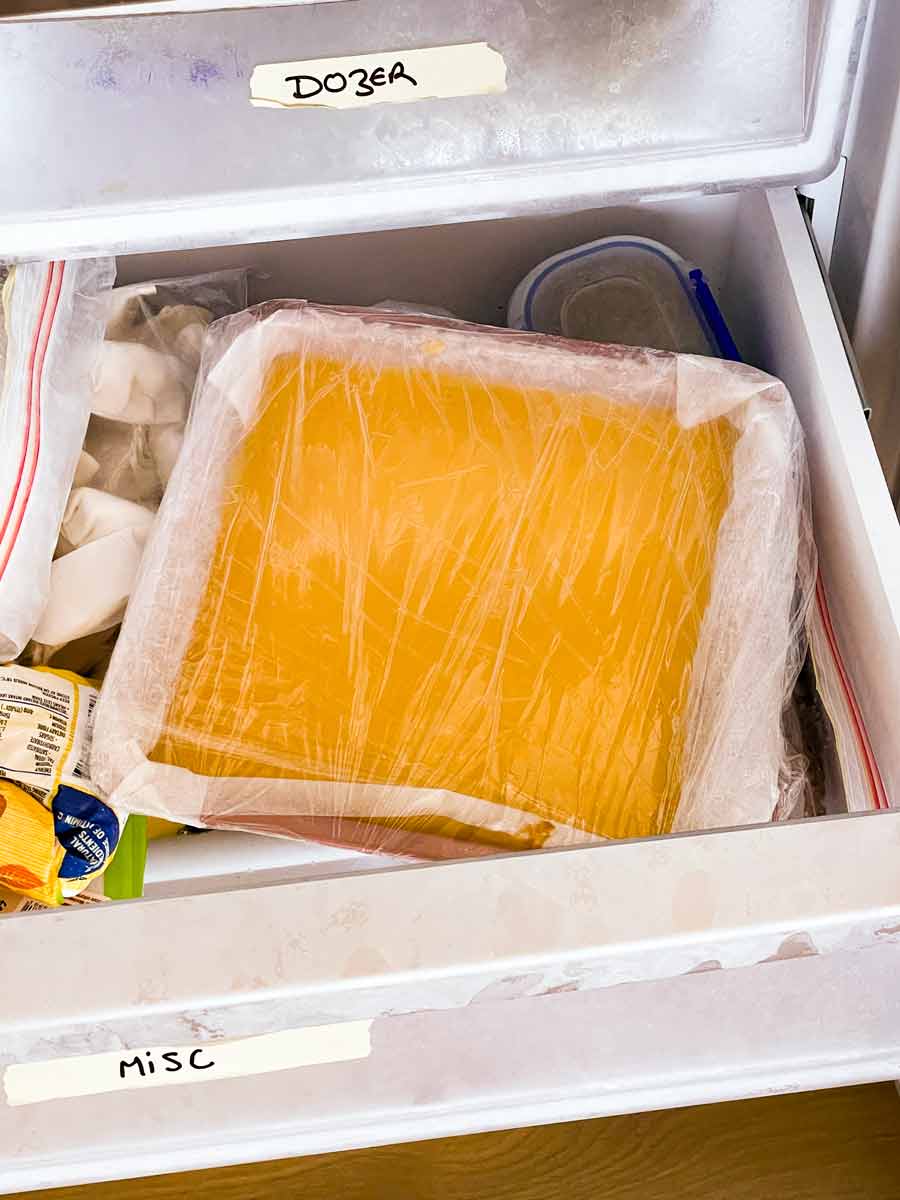
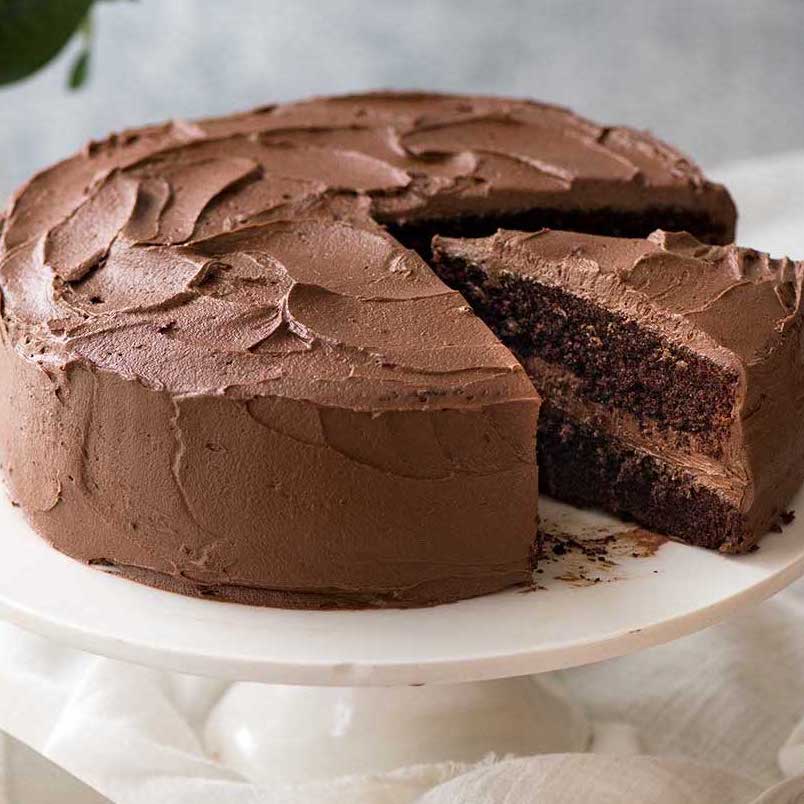
I freeze undecorated cakes obsessively. Partly because I make so many in the course of day-to-day recipe testing (it’s my job!) and partly because I like to have a stash on standby. Super handy for busy festive season! Works best for – plain sponge cakes like the reader favourite Vanilla Cake, super-easy chocolate cake, Black Forest Cake. Decorate with that whipped cream you made yesterday – see tip #1!! 😇 How to freeze – Wrap in parchment/baking paper (insurance purposes, so you don’t lose the skin if it gets tacky when thawing). Cling wrap, then put it in a ziplock bag or container. NEVER just cling wrap because it loses its ability to stick to itself. The cling wrap will loosen, the cake will absorb freezer smells and exposed parts will get freezer burn. How to thaw – Thaw frozen cakes in the fridge overnight or on the counter for 1 hour. Then decorate per recipe. Freezing not recommended for cakes with fruit pieces in them (like blueberry cake, strawberry cake) and gluten free cakes (like Flourless Chocolate Cake, Orange Cake, Hazelnut Cake). Just concerned they are a little too moist and dense for freezing.
Freezing cheesecakes
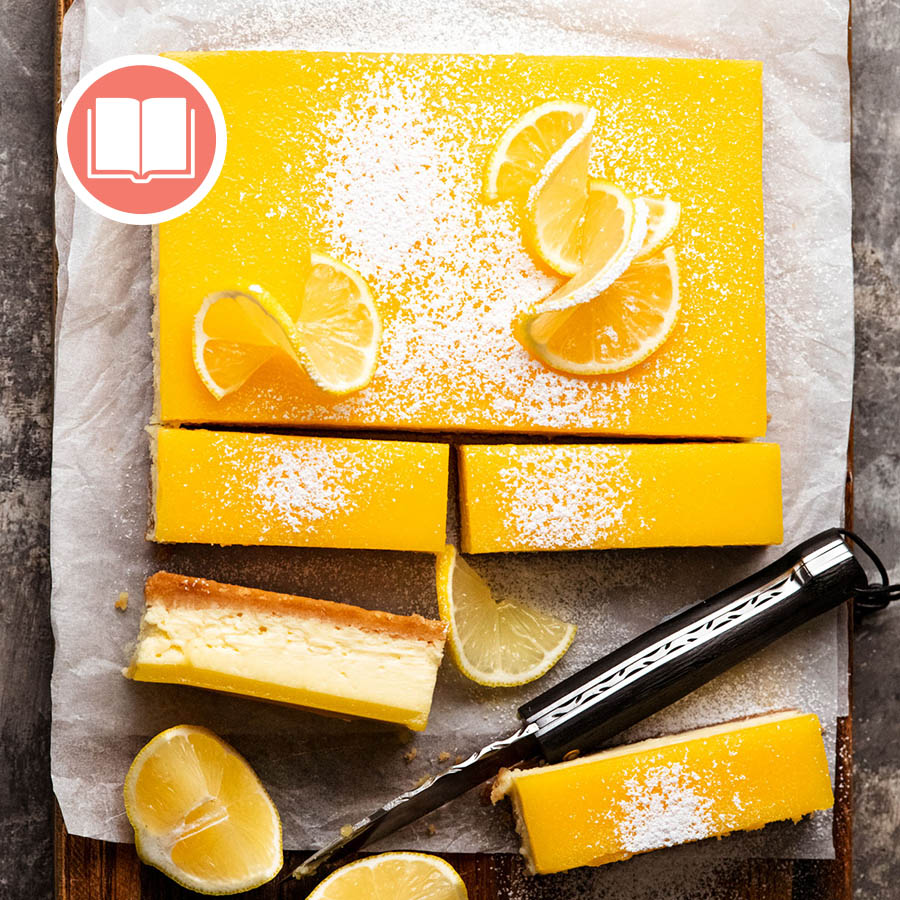
A handy discovery when I was testing the now infamous Lemon Cheesecake in my cookbook – you can freeze cheesecakes! Freezing will not work for all cheesecakes. It will work for classic cheesecakes made with just cream cheese and sour cream, no add-ins like ricotta or fruit. Here are some examples:
Baked Classic Cheesecake Lemon Cheesecake (sorry folks, this is a cookbook exclusive!) Mini Cheesecakes
How to freeze – As with the cakes, place parchment/baking paper on the top and bottom, wrap in cling wrap then store in a ziplock bag or container in the freezer for up to 3 months. For mini cheesecakes, I freeze in a single layer until firm then stack in containers with paper in between. Thaw – Unwrap and place on paper towels (to absorb excess moisture from the biscuit base so it doesn’t go soggy). Cover with fresh paper and cling wrap then thaw overnight in the fridge. I use fresh cling wrap and paper as the used ones from the freezer can be a bit wet from freezer icicles. If the surface of the cheesecake is a bit wet, just place a sheet of paper towel or a clean tea towel on top to absorb excess moisture. Quality – Cheesecake is at its best in the first 24 hours after making it because the biscuit base is still a little crisp. After 24 hours, the base (and sides, if your cheesecake has biscuit walls) gets a little softer due to moisture absorption. And this is what thawed cheesecake is like – the cheesecake filling is perfect, the base is softer. Flavour retention is 100%! Do not freeze – Ricotta cheesecakes, gelatine-based cheesecakes (like Nutella Cheesecake, Mango cheesecake), cheesecakes with fruit inside or on top (just not sure how the fruit will thaw) and no-bake cheesecakes (untested).
Tell me how many you already knew!
And there you have it. My 5 best get-ahead “secret” tips to let you swan through Christmas feasting like the poised domestic goddess you are! Tell me, how many of the above do you regularly use? Anything new you learned? I hope you found them useful! – Nagi x PS Note the use of the word “you” and “poised”. That word is never used to describe me, no matter how much I prep ahead. See? This is me in prep-ahead state. It’s always the darn icing sugar!!! Next post to be published this weekend: My favourite prepare-ahead recipes I use for Christmas!
Life of Dozer
Dozer pressing the The Button to select the winners of the cookbook and Japanese knife giveaway! (If you missed out, follow along on Instagram and/or Facebook for some more fun giveaways coming up!).

